Start from the symptom, not the replacement part
Treat this task as an engineering verification sequence. Each step should either produce a number, a physical observation, or a documented acceptance condition. Wear patterns are useful because they preserve evidence of how force and motion traveled through the drive. The key is to compare left versus right, tight span versus slack span, and one chain section versus another instead of treating all shiny surfaces as normal.
Reviewing the chain product selection range can save time, but only when the search is constrained by verified uneven chain wear and side plate wear. The engineering gate for this topic is to identify whether the pattern follows the chain or stays at one machine location; anything that fails that gate remains a hypothesis, not a released specification.
Map where the wear is located: uniform wear suggests a system-wide condition while localized wear points toward a location-specific exposure or defect.
Compare roller and tooth contact patterns: roller contact shows whether the chain is seating centrally and rotating as intended.
- Uneven Chain Wear
- Check this point at the machine and document any uncertainty that still requires a supplier drawing or manual.
- Side Plate Wear
- Record this requirement with enough context that a second engineer can reproduce the same selection or diagnosis.
- Roller Wear
- Capture this input from a drawing, measurement, calculation, or operating record before the decision advances.
- Localized Elongation
- Treat this as a controlled variable; note its value, unit, operating state, and source in the job record.
- Contact Pattern
- Verify this item against the physical drive and the current supplier data instead of estimating it from appearance.
Map where the wear is located
First, divide the chain loop into marked zones and photograph plates, rollers, pin ends, and sprocket contacts in each. That step is tied to uniform wear suggests a system-wide condition while localized wear points toward a location-specific exposure or defect. A practical observation is that process spray, heat, guards, and guides can affect only part of the loop. Missing it can lead to replacing the chain without mapping the pattern loses evidence needed to prevent recurrence.
For evidence, mark the connecting link, rotate the chain to repeatable inspection positions, and record damage by zone. Finish when you can identify whether the pattern follows the chain or stays at one machine location. Retain enough context to distinguish a new-chain dimension from a wear-affected measurement.
Read side-plate polish as an alignment clue
Treat compare inner and outer plate faces for one-sided bright tracks, burrs, or edge rubbing as the control point. The reason is roller chain should not need continuous lateral correction between sprockets. Real installations also show that axial offset, nonparallel shafts, or misaligned guides push the chain sideways and leave directional evidence. The likely consequence of error is uniformly tightening the chain does not correct side force and can accelerate edge wear.
Make the check at the machine: inspect sprocket faces, guide clearances, and plate contact marks on both sides of the strand. The release criterion is to measure and correct shaft and sprocket alignment when wear is consistently biased. Record whether the drive was stopped, loaded, warm, cold, clean, or contaminated as relevant.
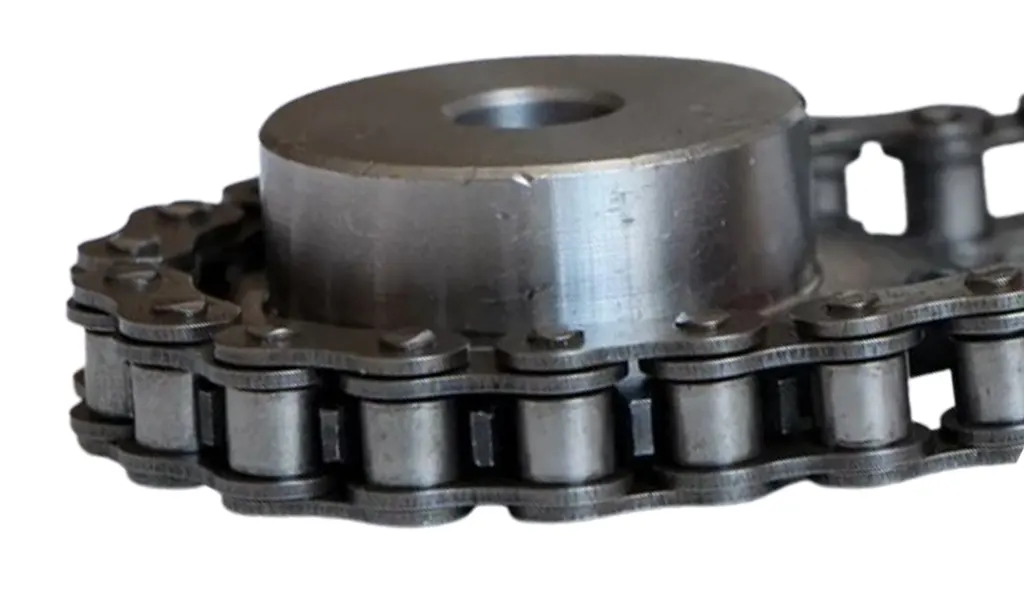
Compare roller and tooth contact patterns
Do not choose the hardware until you inspect roller surfaces for flats, cracks, edge loading, and polished bands and compare them with sprocket tooth flank wear. This matters because roller contact shows whether the chain is seating centrally and rotating as intended. Remember that packed debris, worn teeth, or incorrect sprocket width can move contact to roller edges. If ignored, continuing operation can damage rollers and reshape the tooth pockets together.
Validate with a repeatable observation: clean components and examine several teeth and rollers around the loop under good lighting. Move on after you can replace mismatched or damaged sprockets and investigate contamination when contact is abnormal. Preserve the source of any numerical limit that belongs to a specific chain series.
Measure elongation in several chain zones
A reliable result starts when you take equal multi-pitch measurements at multiple positions around the strand. The underlying reason is uneven pin-bushing wear can occur where lubrication, temperature, load, or contamination differs along the path. In service, one heavily worn segment may jump or tighten before the average whole-chain condition looks severe. An incorrect input may create using one convenient measurement position can miss the worst section.
Use the following field evidence: use the same pitch count and measurement method in every zone and compare percent elongation. Accept the result only if you can base replacement on the worst applicable condition and correct the location that produced the accelerated wear. If the check is visual, add a dimension or operating observation whenever practical.
Inspect lubrication evidence where wear is highest
Establish the condition by choosing to look for oil film, dry pins, fretting color, sticky deposits, abrasive paste, and blocked application points in the damaged zone. It affects the drive because lubricant must reach the joint and contamination can convert lubricant into an abrasive carrier. A useful constraint is that a chain can appear wet overall while one section runs dry after passing a heater or wash station. Getting it wrong can produce adding more oil globally can increase mess without fixing the local delivery problem.
Confirm the condition this way: trace the chain path relative to nozzles, washdown, heat, and debris sources. The step passes when you can relocate or change lubrication and guarding so the critical joint remains protected through the entire loop. Keep the evidence beside the chain designation and machine location in the maintenance record.
Connect the pattern to the operating event
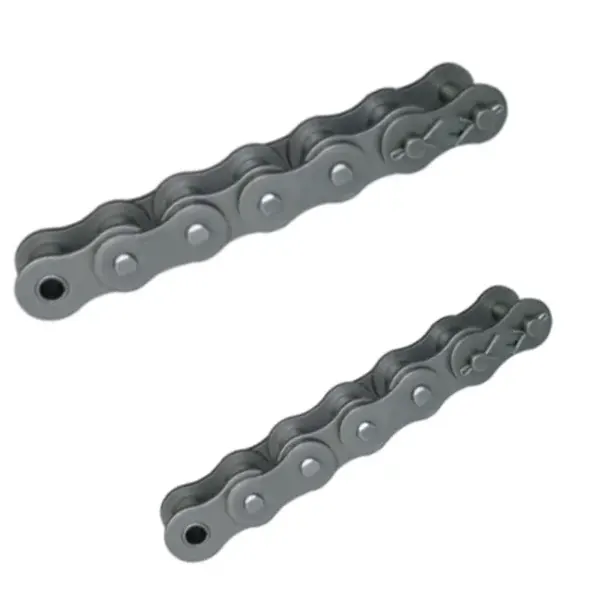
Begin with the physical requirement: compare wear zones with start-stop load, reversing, product impact, tensioner position, and process timing. It is connected to mechanical damage often occurs where chain tension or articulation peaks rather than where it is easiest to see. At site level, a repeated jam, indexing stop, or product collision can mark the same links over many cycles. The avoidable outcome is treating the symptom as normal aging allows the event to continue damaging replacements.
Inspect as follows: observe one operating cycle and note when the worn zone passes each load or contact point. Release the step after you can remove the abnormal event or re-rate the drive before installing another chain. Repeat the check after adjustment whenever the adjustment itself can change the measured condition.
Diagnostic confirmation table
| Decision point | Inspection or calculation | Acceptance evidence |
|---|---|---|
| Map where the wear is located | mark the connecting link, rotate the chain to repeatable inspection positions, and record damage by zone | identify whether the pattern follows the chain or stays at one machine location |
| Read side-plate polish as an alignment clue | inspect sprocket faces, guide clearances, and plate contact marks on both sides of the strand | measure and correct shaft and sprocket alignment when wear is consistently biased |
| Compare roller and tooth contact patterns | clean components and examine several teeth and rollers around the loop under good lighting | replace mismatched or damaged sprockets and investigate contamination when contact is abnormal |
| Measure elongation in several chain zones | use the same pitch count and measurement method in every zone and compare percent elongation | base replacement on the worst applicable condition and correct the location that produced the accelerated wear |
| Inspect lubrication evidence where wear is highest | trace the chain path relative to nozzles, washdown, heat, and debris sources | relocate or change lubrication and guarding so the critical joint remains protected through the entire loop |
| Connect the pattern to the operating event | observe one operating cycle and note when the worn zone passes each load or contact point | remove the abnormal event or re-rate the drive before installing another chain |
| For this article, do not close the job until the uneven chain wear evidence and every critical mating interface are recorded together. | ||
Component selection is strongest when the chain is not reviewed in isolation. review sprocket geometry when diagnosing wear patterns offers related uneven roller-chain wear context; keep the final engineering check tied to the exact standard family, manufacturer table, and measured installation.
False fixes that hide the root cause
Release check: identify whether the pattern follows the chain or stays at one machine location.
Release check: measure and correct shaft and sprocket alignment when wear is consistently biased.
Release check: replace mismatched or damaged sprockets and investigate contamination when contact is abnormal.
Release check: base replacement on the worst applicable condition and correct the location that produced the accelerated wear.
Troubleshooting FAQs
Correct the confirmed mechanism and verify the repair
The strongest handoff for this troubleshooting topic is a short evidence package: verified uneven chain wear, verified side plate wear, the result of “Connect the pattern to the operating event,” and the exact source of any chain-series-specific limit. Broader alternatives on the power transmission chain solutions should be compared against that same package rather than against generic catalog descriptions.
For uneven roller-chain wear, if roller wear has not been verified, send the application data to the chain engineering team with the evidence collected in the preceding checks. State the operating condition, measured dimensions, current sprocket condition, and intended maintenance or design action so the remaining check can be closed before the machine returns to service.
Send the operating condition, uneven chain wear, side plate wear, layout evidence, and the unresolved interface so the next decision is based on machine data rather than assumption.