Start from the symptom, not the replacement part
Most costly chain-drive mistakes begin when one visible symptom or one catalog dimension is treated as the whole problem. A chain jumps teeth when stable engagement is lost. The cause is usually geometric or dynamic: effective pitch no longer matches the sprocket, there is not enough wrap, slack becomes uncontrolled, or the chain is prevented from seating fully.
The available transmission chain families is most useful once the problem statement includes tooth jumping and chain elongation. In this article the controlling verification is to repair any immediate damage before attempting diagnostic test runs. Keeping those facts together gives purchasing and maintenance the same technical basis for the next action.
- Tooth Jumping
- Verifique este elemento comparándolo con la unidad física y los datos actuales del proveedor, en lugar de estimarlo por su apariencia.
- Chain Elongation
- Utilice este parámetro para rechazar las opciones inadecuadas de forma temprana y, a continuación, conserve el valor verificado para la especificación final.
- Sprocket Wrap
- Verifique este punto en la máquina y documente cualquier duda que aún requiera un plano o manual del proveedor.
- Excessive Slack
- Documente este requisito con suficiente contexto para que un segundo ingeniero pueda reproducir la misma selección o diagnóstico.
- Tooth Wear
- Capture esta información a partir de un dibujo, una medición, un cálculo o un registro operativo antes de que se tome la decisión.
Stop repeated jumping before inspecting
Remove load and isolate the machine rather than continuing to run a chain that is climbing teeth. Why it matters: each jump produces impact that can damage rollers, plates, teeth, shafts, and guards. Field nuance: a drive that resets itself after a jump can hide progressive damage. Failure mode: continued operation can turn a simple adjustment problem into chain and sprocket replacement.
Inspection: lock out the drive and inspect for cracked plates, damaged rollers, bent teeth, displaced hubs, and chain derailment evidence. Release condition: repair any immediate damage before attempting diagnostic test runs. Record the operating state and the reference points used for this check.
Measure wear elongation first
Start by measure a multi-pitch chain span and compare with the applicable replacement criterion. The mechanism is wear increases effective pitch and eventually prevents rollers from seating correctly on the sprocket. In practice, the chain may still look intact even when cumulative joint wear is enough to climb teeth. If the assumption is wrong, tightening an elongated chain does not restore the original pitch relationship.
Field check: measure several chain positions if wear appears uneven and record the exact sprocket tooth counts. Accept the step when you can replace the chain when elongation exceeds the appropriate limit and inspect sprockets for matched wear. Save the measured or observed condition so the result can be repeated later.
Inspect sprocket tooth profile and debris
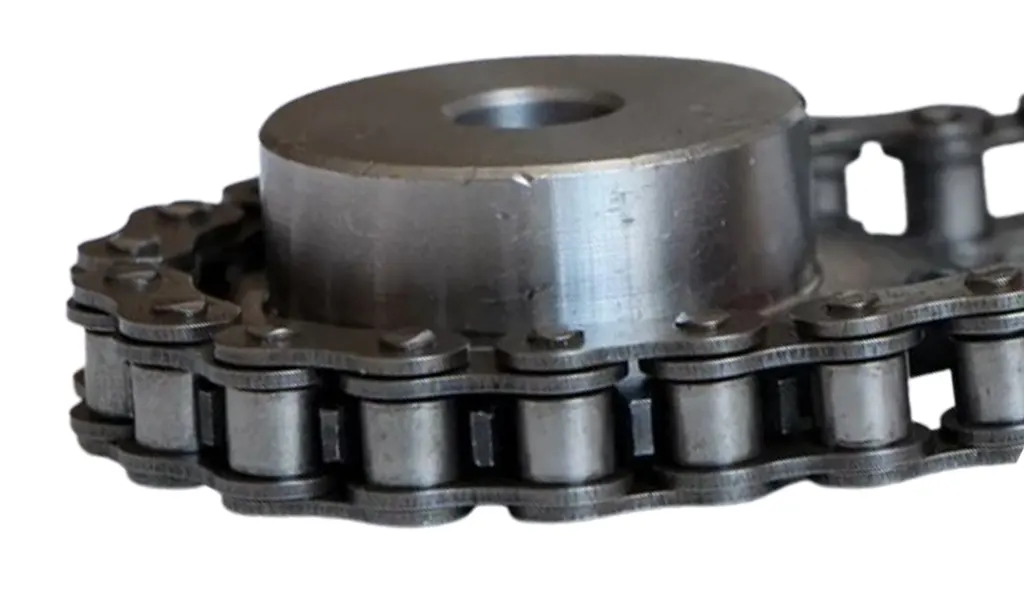
Use clean tooth pockets and examine loaded flanks for hooking, wear pockets, broken teeth, or material buildup. This controls the decision because rollers must enter the root region along the intended profile and packed debris can physically block seating. On the machine, worn teeth often develop a shape that fits the old elongated chain but not a new chain. The practical risk is reusing worn sprockets can cause continued climbing even after chain replacement.
Confirm it by doing this: rotate both sprockets and inspect every sector, using a profile guide or manufacturer criteria where available. The evidence is sufficient when you can replace damaged or excessively worn sprockets and prevent recurring material buildup. Note the tool, location, and operating condition with the result.
Check slack, tensioner travel, and wrap
Work from measure chain slack and inspect whether take-up or tensioner position preserves enough engagement on the small sprocket. The engineering link is excess slack and poor tensioner geometry can reduce effective wrap and allow the chain to lift during transients. One useful detail is that a tensioner near the end of travel may control the span at rest but lose authority during stopping or reversing. Otherwise, over-tightening can damage bearings while under-control permits tooth skipping.
Verify at the drive: map chain tangency through the full tensioner stroke and observe span motion during a safe controlled run. Close this check only after you can restore the specified slack and minimum wrap without excessive pretension. Keep photographs or dimensions when they help preserve the interface condition.
Verify alignment and runout
Base the decision on check shaft parallelism, sprocket tooth-row alignment, radial runout, and face runout. It matters because side-loaded chain may approach the sprocket at an angle and fail to settle fully in the tooth space. During service, eccentric sprockets also create cyclic tight and loose regions that promote climbing. A poor assumption can cause adding tension to compensate for runout or misalignment increases system load instead of correcting engagement.
Use this confirmation: measure alignment and rotate sprockets while monitoring chain tightness or indicator readings. Proceed when you can correct mounting, shaft alignment, or bent components before retesting. If readings vary around the chain or sprocket, retain the spread instead of hiding it in one average.
Reproduce the load transient carefully
The controlling action is to after static causes are corrected, determine whether jumping occurs during start, stop, jam release, reversing, or peak process load. Its significance comes from dynamic torque can momentarily pull slack into the wrong span or exceed stable tooth engagement. In the field, inertia, backlash, and control logic can create a short event not visible at steady state. The failure consequence is a drive that behaves well unloaded may still jump under the real transient.
Check the hardware directly: use safe observation plus motor-current or torque data if available to correlate jumping with the event. Approval requires that you can revise service factor, tensioning, control ramp, sprocket teeth, or chain selection if the transient is the verified cause. Write down any uncertainty that still needs a drawing, manual, or supplier response.
Diagnostic confirmation table
| Punto de decisión | Inspección o cálculo | Evidencia de aceptación |
|---|---|---|
| Stop repeated jumping before inspecting | lock out the drive and inspect for cracked plates, damaged rollers, bent teeth, displaced hubs, and chain derailment evidence | repair any immediate damage before attempting diagnostic test runs |
| Measure wear elongation first | measure several chain positions if wear appears uneven and record the exact sprocket tooth counts | replace the chain when elongation exceeds the appropriate limit and inspect sprockets for matched wear |
| Inspect sprocket tooth profile and debris | rotate both sprockets and inspect every sector, using a profile guide or manufacturer criteria where available | replace damaged or excessively worn sprockets and prevent recurring material buildup |
| Check slack, tensioner travel, and wrap | map chain tangency through the full tensioner stroke and observe span motion during a safe controlled run | restore the specified slack and minimum wrap without excessive pretension |
| Verify alignment and runout | measure alignment and rotate sprockets while monitoring chain tightness or indicator readings | correct mounting, shaft alignment, or bent components before retesting |
| Reproduce the load transient carefully | use safe observation plus motor-current or torque data if available to correlate jumping with the event | revise service factor, tensioning, control ramp, sprocket teeth, or chain selection if the transient is the verified cause |
| For this article, do not close the job until the tooth jumping evidence and every critical mating interface are recorded together. | ||
For a wider view of the hardware around this problem, see review chain tensioners used to control slack and wrap. Use that page only as context for roller chain jumping sprocket teeth; approve the real drive from measured interfaces, current ratings, and the machine duty described in this article.
False fixes that hide the root cause
Release check: repair any immediate damage before attempting diagnostic test runs.
Release check: replace the chain when elongation exceeds the appropriate limit and inspect sprockets for matched wear.
Release check: replace damaged or excessively worn sprockets and prevent recurring material buildup.
Release check: restore the specified slack and minimum wrap without excessive pretension.
Troubleshooting FAQs
Correct the confirmed mechanism and verify the repair
A finished troubleshooting decision should let another engineer reproduce it without relying on memory. Keep tooth jumping, chain elongation, the final check for “Reproduce the load transient carefully,” and the governing catalog or drawing revision together. If another chain architecture becomes relevant, the chain drive engineering solutions is a starting point, not a replacement for those recorded inputs.
For an application-specific review, send the application data to the chain engineering team and identify what is known versus what remains uncertain. Include the values for tooth jumping and chain elongation, plus the current condition of sprocket wrap. A supplier can then evaluate a bounded engineering question instead of trying to infer the machine from a chain designation alone.
Send the operating condition, tooth jumping, chain elongation, layout evidence, and the unresolved interface so the next decision is based on machine data rather than assumption.